This short guide will give you advice and tips on recording your own lectures or teaching materials to be shared with students.
Planning
As with anything, spending a few minutes to plan beforehand will help the recording process run much more smoothly.
What will you say?
Take a few minutes to think through what you are going to say. Having notes, a rough script, or dot points to guide you and help you stay on topic will make the recording process much faster and limit the amount of editing required.
What will you show?
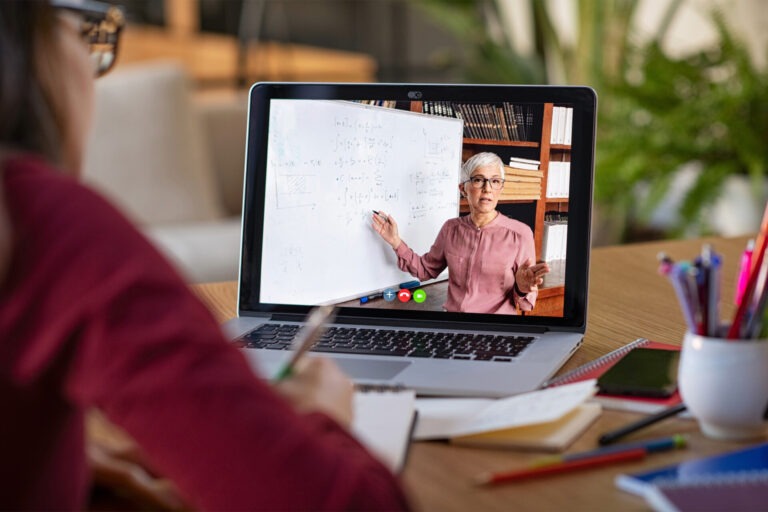
Consider what you want to be included in the recording beforehand, such as presentation slides, screen annotations or highlighting, video of the speaker, or any websites or videos. What you would like to include will impact on what equipment and software you will need.
Getting ready to record
Where will you film?
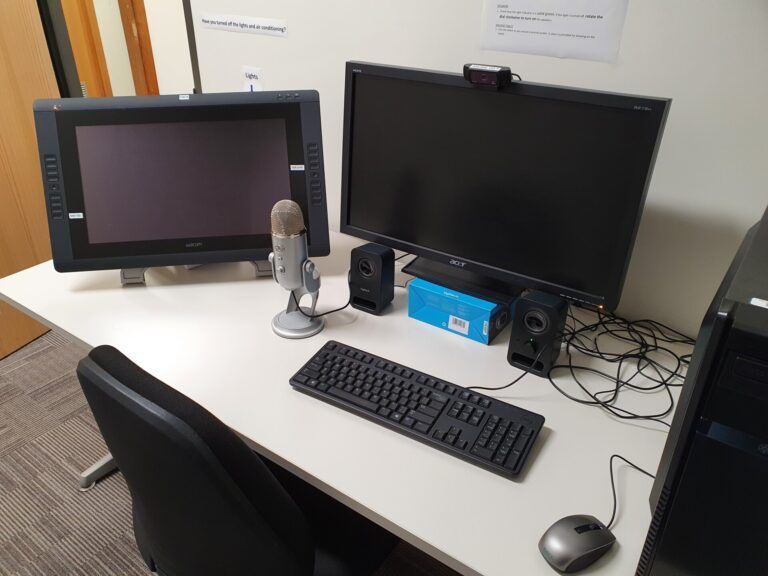
Aim for a well-lit and quiet space where you can record without interruptions or background noise. This might be at home, in your office, a meeting room on campus, or using a studio space (such as the TELT studio).
Reduce background noise by turning off fans or air conditioners, closing windows, and putting up a “do not disturb” sign on your door. A brightly lit room is essential, and natural light is recommended wherever possible. Find a spot with clear and bright light near a window if you can.
Recording
What equipment do you need?
- Camera: This can be your computer's webcam, a tablet or mobile phone camera, or a video camera, depending on what you want to show.
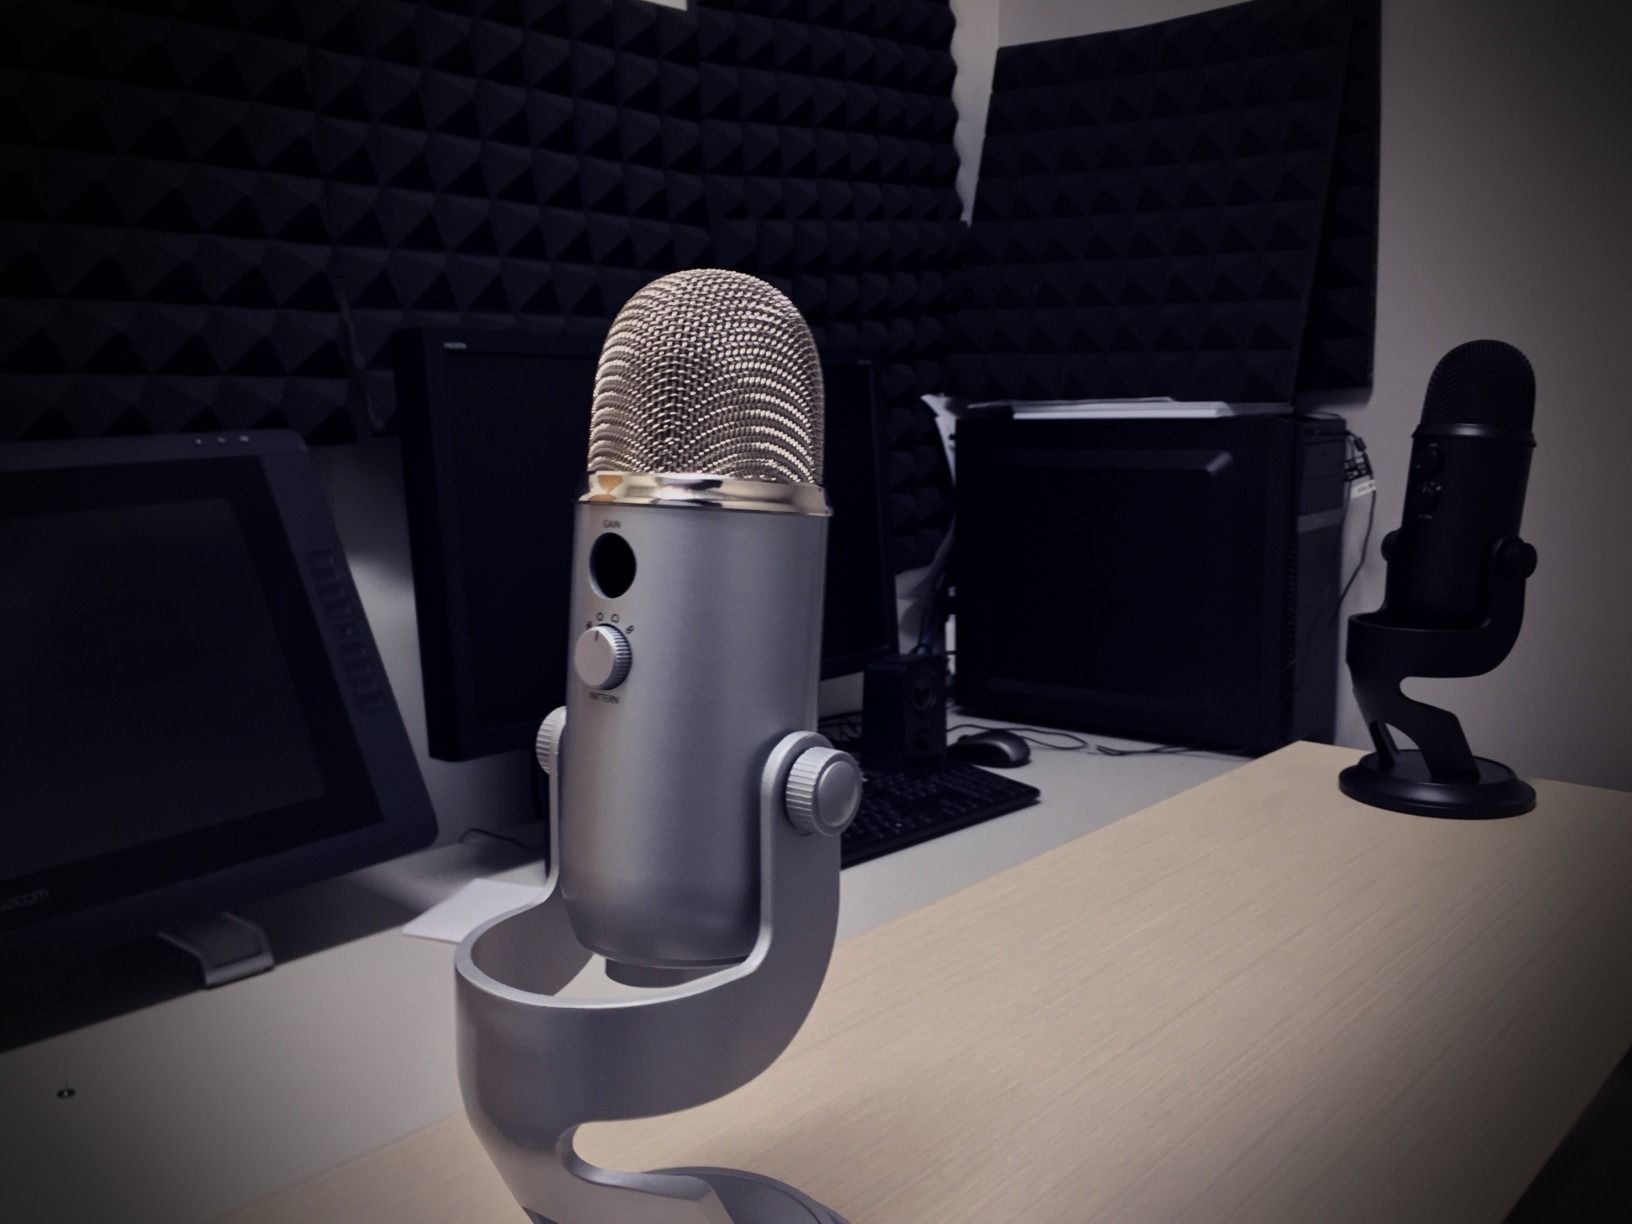
- Microphone: The built-in microphone on your webcam or mobile device is acceptable if the space is very quiet, but consider investing in a separate microphone if you plan to do a lot of filming. Good quality audio can make a world of difference.
- Lighting: A well-lit space is essential so you can be clearly seen on camera. Lighting from more than one angle can help reduce shadows. Turn on a few different lights with your camera on to find the right balance for your space.
What software do you need?
To capture audio, your presentation slides, annotations on the screen, and/or video of the presenter speaking you can use any of the following platforms. (Click through the slideshow to see the options.)
Editing
If you need to edit out sections or trim the beginning and end of the recording, here are a few easy-to-use platforms for basic editing.
- Clipchamp: Included with all Windows computers.
- iMovie: Included with all Mac computers.
- Adobe Express: Available for all ANU staff with your UniID. Upload your video and edit easily in your browser.
Get support
The TELT team can loan equipment, including cameras, microphones, and lights for you to use when filming. We also have a studio space (pictured) at the Florey Building at the ANU Campus which can be booked out for self-recording and editing.
TELT can also film and edit your teaching and learning activities, including course welcome videos, lectures, or practical demonstrations.
Please feel free to get in touch at telt.smp@anu.edu.au or get more information about the multimedia production offered by the team.